The Ultimate Polygel Starter Kit- PLUS FREE SHIPPING
$255.00
💅 The Ultimate Polygel Starter Kit – Everything You Need!
Get ready to transform your nail game with the Ultimate Polygel Starter Kit—the all-in-one solution for flawless, long-lasting Polygel nails. Whether you're a beginner or a seasoned nail technician, this kit has everything you need to create stunning, professional-quality Polygel sets.
💎 What’s Inside:
-
5 Polygel Colors 60g: A versatile range of trendy shades—from classic nudes to bold hues—for endless creativity. In our large 60g tube.
-
Base & Top Coat: Long-lasting adhesion and brilliant shine.
-
Polygel Tube Squeezer: To prevent product waste.
-
Polygel Brush & Spatula Tool: Double-ended tool for precise application and shaping.
-
Nail File & Buffer: Shape, refine, and prep your nails like a pro
- 5 Nail Clips: To hold dual nail forms in place while the Polygel is curing under a UV/LED lamp.
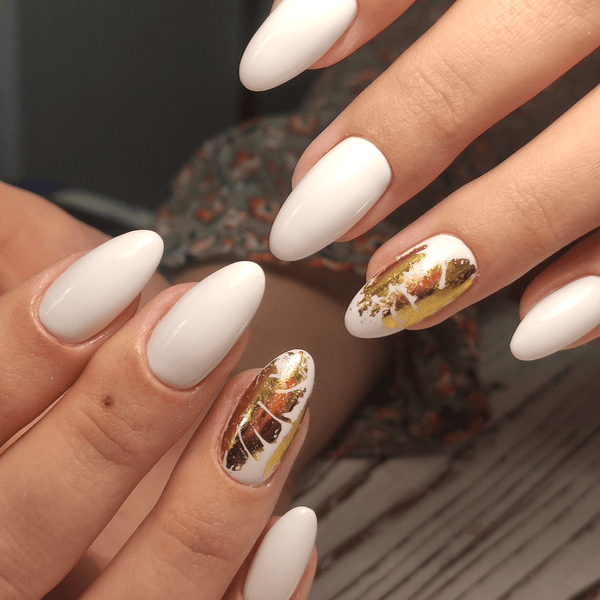
- Colours included in kit- White,Latte,Beige,Blossom,Crimson
✨ Why You’ll Love It:
-
Durable & Lightweight: Enjoy up to 3 weeks of chip-free wear without the weight of acrylics.
-
Beginner-Friendly: Perfect for beginners or first-time users—no prior experience needed.
-
Low Odor & Safe Hema Free Formula: Designed with your comfort in mind—no harsh smells or toxic ingredients.
-
Creative Freedom: Mix, match, sculpt, and customise every set.
Whether you want to experiment with nail extensions, add length, or create elegant nail art, the Ultimate Polygel Starter Kit is your go-to toolbox for endless designs and salon-quality results.
🎁 Makes a perfect gift for yourself or any Nail lover!
Poly Gel Nail Application: Step-by-Step Guide

What You'll Need
- Poly gel kit
- LED/UV lamp
- Dual forms or nail tips
- Base coat
- Poly gel brush/spatula tool
- Slip solution
- File/buffer
- Top coat
Step-by-Step Process
-
Prep your nails
- Push back cuticles
- Gently buff nail surface
- Clean with alcohol to remove dust and oils
- Apply thin layer of base coat and cure
-
Prepare your poly gel
- Squeeze small amount of poly gel onto your work surface
- Dip your brush in slip solution to prevent sticking
-
Apply poly gel
- For dual forms: Place poly gel inside the form, spread evenly
- For nail tips: Apply directly to nail or tip
- Press form onto nail, squeezing out excess
-
Cure under lamp
- Place under LED/UV lamp for recommended time (usually 30-60 seconds)
- Remove dual form carefully after curing
-
Shape and refine
- File to desired shape
- Buff surface for smoothness
- Clean dust with alcohol wipe
-
Apply top coat
- Apply thin layer of top coat
- Cure under lamp for final set
- Apply cuticle oil for hydration
Remember that poly gel combines the best features of hard gel and acrylic - it's strong like acrylic but applies like gel. Practice makes perfect with this technique!
⛟ Shipping & Delivery
AUSTRALIA
All orders are shipped using Australia Post.
- $10 Flat rate shipping, FREE SHIPPING for orders over $100, including tracking.
USA & NEW ZEALAND
All orders are shipped using Australia Post.
Australia Post offers Standard and Express shipping which includes tracking.
Shipping is calculated by weight and parcel size during checkout.
For more info, see our Shipping & Delivery page.
↩ Returns & Refunds
Due to the nature of our products and for hygiene reasons, we cannot accept returns or exchanges. Nor do we refund for a change of mind. Please choose your items carefully. All sales are final.
We only accept returns or exchanges if the item you purchased is defective. If you receive a defective item, please contact us first with the details and photos of the product and the defect.
Others Also Bought